Table of Contents |
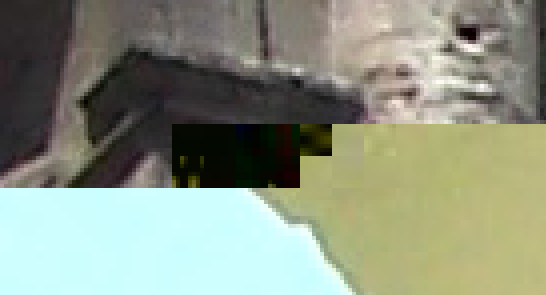
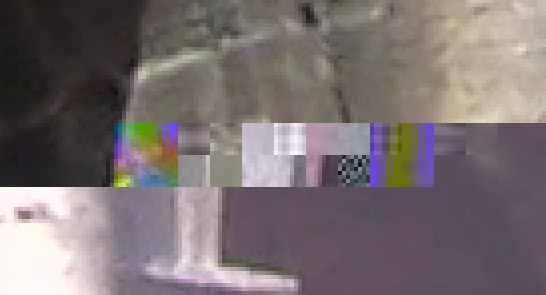
Visual analysis and localization of damaged MCUsDamaged MCUs are easy to localize visually. Typically, the image after the damaged MCU abruptly changes its color, or becomes grayscale, or looks like a mess of colors. For example:
Here, we can clearly see where the damaged MCU is located. Directly prior to the damaged MCU there is the last correct MCU. Now we need to locate the next correct MCU to isolate the damaged part of the JPEG image. |