Table of Contents |
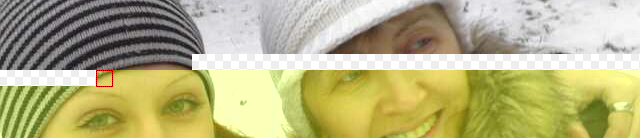
Automatic color correctionAutomatic color correction works if the damaged fragments are small enough and do not separate the image onto two independent parts. In other words, if the part with correct colors has at least one adjacent MCU with the incorrect part, automatic color correction will work. For instance, this damaged JPEG image can be color-corrected automatically:
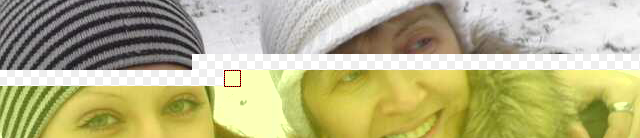
And colors on this image cannot be recovered automatically:
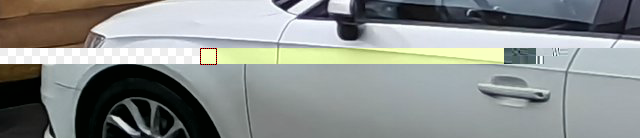
To apply automatic color correction, select the first MCU of the incorrectly colored part of the image, then click the Auto color button. If the selected MCU has adjacent MCU with the correct colors, they will be used to calculate colors of the remaining MCUs in the incorrect part of the image. If they are no adjacent MCUs, JpegMedic will calculate colors based on the thumbnail. In this case, accuracy of colors will be lower. If automatic correction resulted in non-ideal final colors, you can adjust them manually. Important! Automatic color correction is based on data from consequential MCUs starting from the selected MCU to the first empty MCU. If the sequence contains a large number of damaged MCUs this may have negative effect on the work of the algorithm. That is why we recommend to separate damaged MCUs from the correct ones by inserting one empty MCU between the last correct MCU and the first damaged MCU. Here is an example of such a situation:
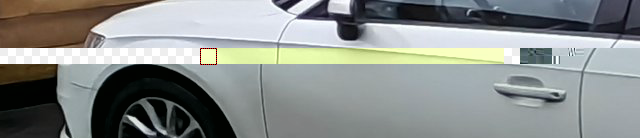
To make color correction more accurate, we recommend inserting an empty MCU to the end of the correct sequence:
|