JPEG Medic // Accurate Manual JPEG Recovery
Table of Contents
  1. Overview
  2. Theory of JPEG Repair
    1. JPEG structure
    2. How to fix broken JPEG file
  3. Working with the Program
    1. Main menu
    2. Virtual folder tree
    3. Files panel
    4. Preview panel
    5. Cluster view
    6. Hex view
  4. Repairing JPEG image
    1. Opening JPEG file
    2. Repair window
      1. Menu commands
    3. Repair procedure
      1. Visual analysis and localization of damaged MCUs
      2. Finding the next correct MCU
      3. Deleting damaged MCUs
      4. Inserting empty MCUs
      5. Color correction
        1. Automatic color correction
        2. Manual color correction
      6. Filling empty MCUs with data
        1. Use the thumbnail image to fill the empty MCUs
        2. Auto-generate missing content
    4. Saving repaired JPEG image
    5. Repairing fragmented JPEG file
    6. Repairing damaged JPEG image based on SOS marker
    7. Repairing JPEG file encoded by ransomware

Cluster view

The area visualizes file system clusters. One block on the diagram represents one cluster. For individual images that are not disk images, one block represents 256 bytes of the file.

JpegMedic cluster view

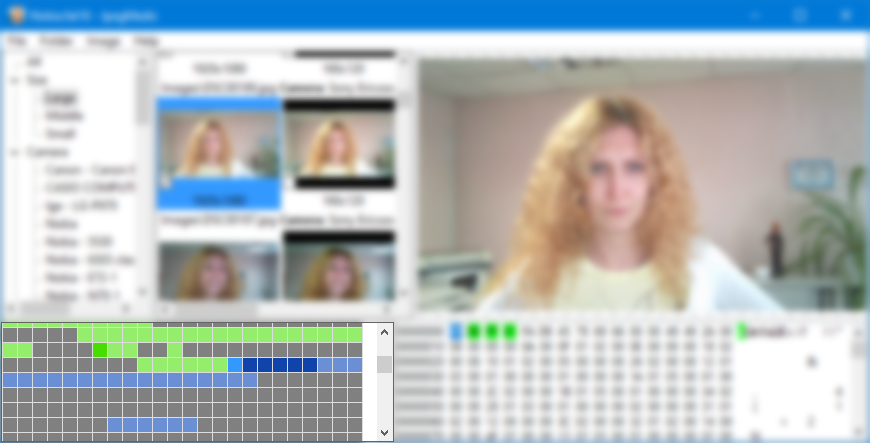
Blocks are color-coded:

  • Green/dark green blocks indicate clusters that are a part of some JPEG image. Dark green clusters contain metadata of the image, while light green contain encoded MCUs.
  • Blue/dark blue blocks indicate clusters that are part of the currently selected image in the File panel.
  • Dark grey clusters are parts of files located during file system scan that are not JPEG images.
  • Light grey represents clusters non-occupied by any found file and filled with the same byte. Such clusters are effectively empty.
  • White blocks with a question mark in them are non-occupied clusters that have some data in them.

Clicking a block in the cluster view selects it.