Virtual folder tree
The leftmost area in the main window is a virtual folder tree. Upon opening a JPEG file or a file that contains multiple JPEG images inside (for example, a RAW file created by a digital camera, or a disk image), JpegMedic automatically creates virtual folders based on the inner structure of the opened file. Virtual folders are based on EXIF data and the structure of the disk image.
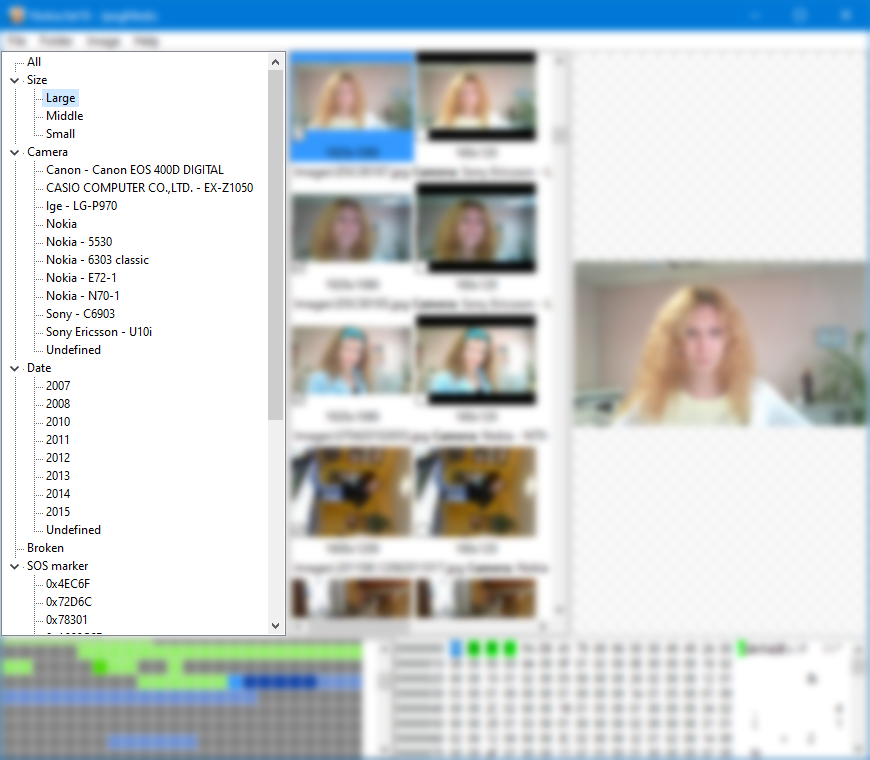
The following folders can be displayed, all or only some of them:
- All. Contains all found images.
- Size. Contains a number of subfolders with images of the corresponding sizes in them.
- Camera. Contains camera name subfolders. JPEG images made with a certain camera are placed into the corresponding subfolder.
- Date. Contains year subfolders. Allows you to select images made in specific year.
- Broken. Contains damaged images only.
- SOS marker Contains found but unidentified images that do not have metadata associated with them. Every subfolder in the SOS marker folder is an offset in the file the corresponding image begins at. Images in this folder are not shown in the All folder. Please refer to this section to learn how to work with SOS markers.
|