Table of Contents |
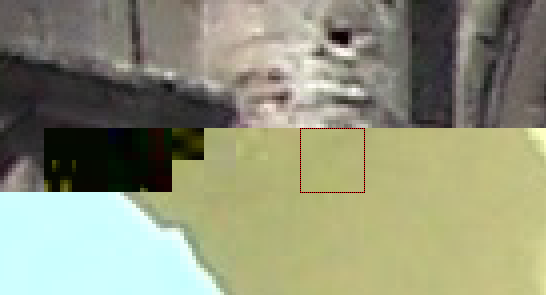
Finding the next correct MCUSometimes, you can easily locate the next correct MCU visually. For example, on this image the next correct MCU is the select block:
Note that determining which MCU is a correct one is largely a creative process. For instance, on the above image we can attempt to save the preceding MCU too by selecting it and using the Reload from next/prev bit command (see below).
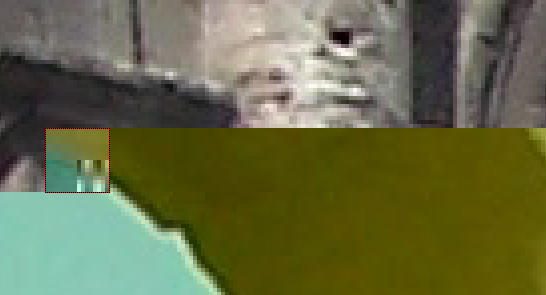
However, if the damages to the JPEG file resulted in JPEG decoder failure, no graphical information below the damaged MCU block will be displayed, so you cannot visually find the next correct MCU. To find the next correct MCU manually, put the cursor to the last non-empty MCU that you see, and then use one of the following:
Regardless of the way you selected the next correct MCU, the program will use it as a reference point to find the next correct MCU. If the selected value does not allow decoding the next five MCUs, JpegMedic moves one bit forward and attempts to decode again. If after scanning 1 MB of data a chain of 5 correctly decoded MCUs is not found, the search stops and you will need to select another correct MCU using one of the above methods. When the damaged fragment is located, you should delete the corresponding MCUs to make the image look correctly again (minus the damaged part). |