Table of Contents |
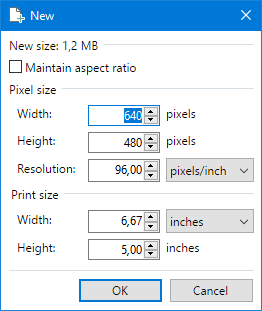
Auto-generate missing contentA viable alternative to using thumbnails to fill in the missing parts of the JPEG image after removing damaged MCU blocks is auto-generation of content. Many contemporary graphical editors like Photoshop or Paint.NET have a powerful instrument - Content-Aware Healing. While the tool itself can work differently in different software, the idea of the method is to use content-aware healing to restore missing parts of the image. Please take into account that the procedure and the final result may be different if other software is used. Make sure to read the documentation of your product to learn more about content-aware image healing. Below is the example of auto-generation of content in Paint.NET. First of all, you need to install the Content Aware Fill plugin for Paint.NET. You can download it from the official forum of the Paint.NET software using this link. To pass the image from JpegMedic to Paint.NET, use the clipboard. Use the File > Copy to clipboard menu command. Then, in Paint.NET use the File > New menu to create a new file. Paint.NET automatically determines there's an image in the clipboard and will set the size of the image accordingly. Do not change anything and click OK.
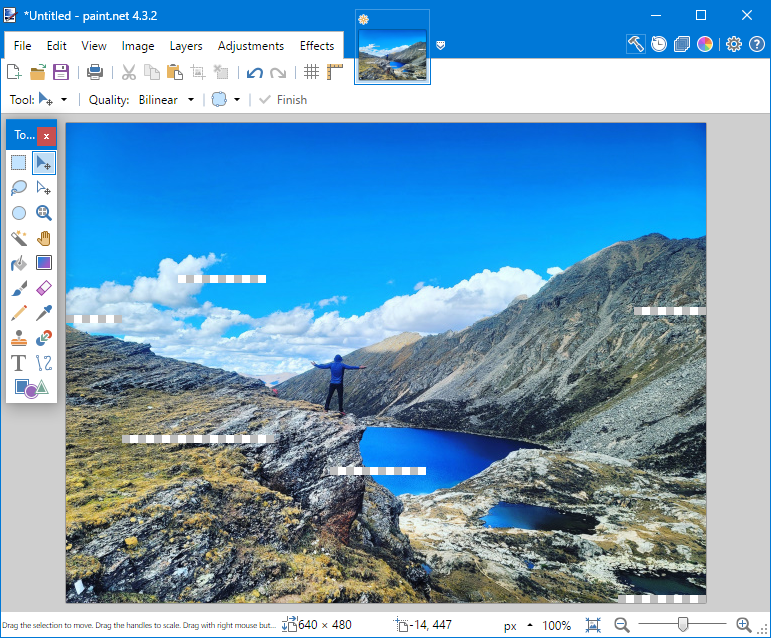
Then, use Edit > Paste to paste the image from the clipboard to the canvas.
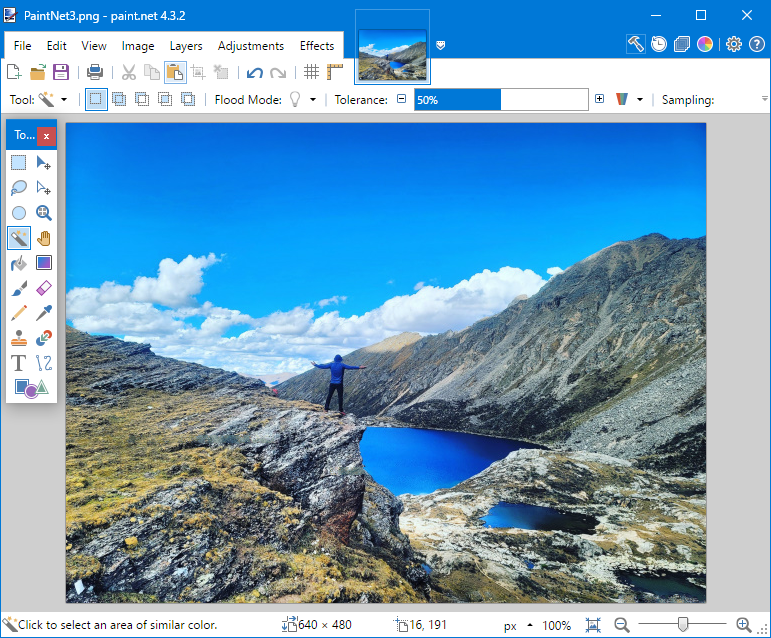
To generate content automatically, select the empty areas on the image. The best way to do this is to use the Magic Wand tool.
Now, run auto-generation of content using the Effects > Selection > Content Aware Fill menu command, and Paint.NET will fill in the gaps automatically.
The tool does not always produce the best results, but that's still much better than nothing. Once the image is restored, you can save it. If you want, you can save directly from Paint.NET, but in this case metadata such as EXIF data of the original file will be lost. The image will be re-encoded again and may suffer a minor loss of the quality.
Instead, we recommend doing the following:
|