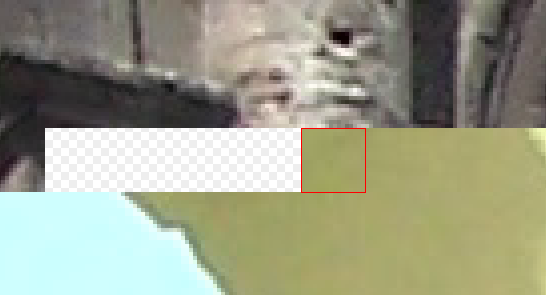
JPEG Medic // Accurate Manual JPEG Recovery
Table of Contents
  1. Overview
  2. Theory of JPEG Repair
    1. JPEG structure
    2. How to fix broken JPEG file
  3. Working with the Program
    1. Main menu
    2. Virtual folder tree
    3. Files panel
    4. Preview panel
    5. Cluster view
    6. Hex view
  4. Repairing JPEG image
    1. Opening JPEG file
    2. Repair window
      1. Menu commands
    3. Repair procedure
      1. Visual analysis and localization of damaged MCUs
      2. Finding the next correct MCU
      3. Deleting damaged MCUs
      4. Inserting empty MCUs
      5. Color correction
        1. Automatic color correction
        2. Manual color correction
      6. Filling empty MCUs with data
        1. Use the thumbnail image to fill the empty MCUs
        2. Auto-generate missing content
    4. Saving repaired JPEG image
    5. Repairing fragmented JPEG file
    6. Repairing damaged JPEG image based on SOS marker
    7. Repairing JPEG file encoded by ransomware

Deleting damaged MCUs

To clear the damaged MCUs, select the first damaged MCU and use the Edit MCU > Clear MCU command. This command removes the bit data from the damaged MCUs. To remove the damaged MCU blocks, select the first damaged MCU and use the Edit MCU > Delete MCU menu command. Note that deleting MCUs shifts all the following MCUs backwards.

Another way to delete damaged blocks is the Edit MCU > Delete prev MCU menu command. This command removes the previous MCU (not the current one). All the following MCUs shift backwards.

In the end, you should receive an image that looks like this:

Deleting damaged MCU

Notice how the image looks shifted. We will fix this on the next step.